Interior Design
5 common kitchen splashback mistakes to avoid
29.11.2017
Interior Design
29.11.2017
The splashback is an integral part of kitchen design, offering a practical solution to deflect mess from countertops and cookers while adding an attractive accent of colour and texture. Usually, the main focal points in kitchen interiors are the countertops, cabinets, islands and tables. However, you should not underestimate the importance of your splashback as a key decorative and functional element in your kitchen.
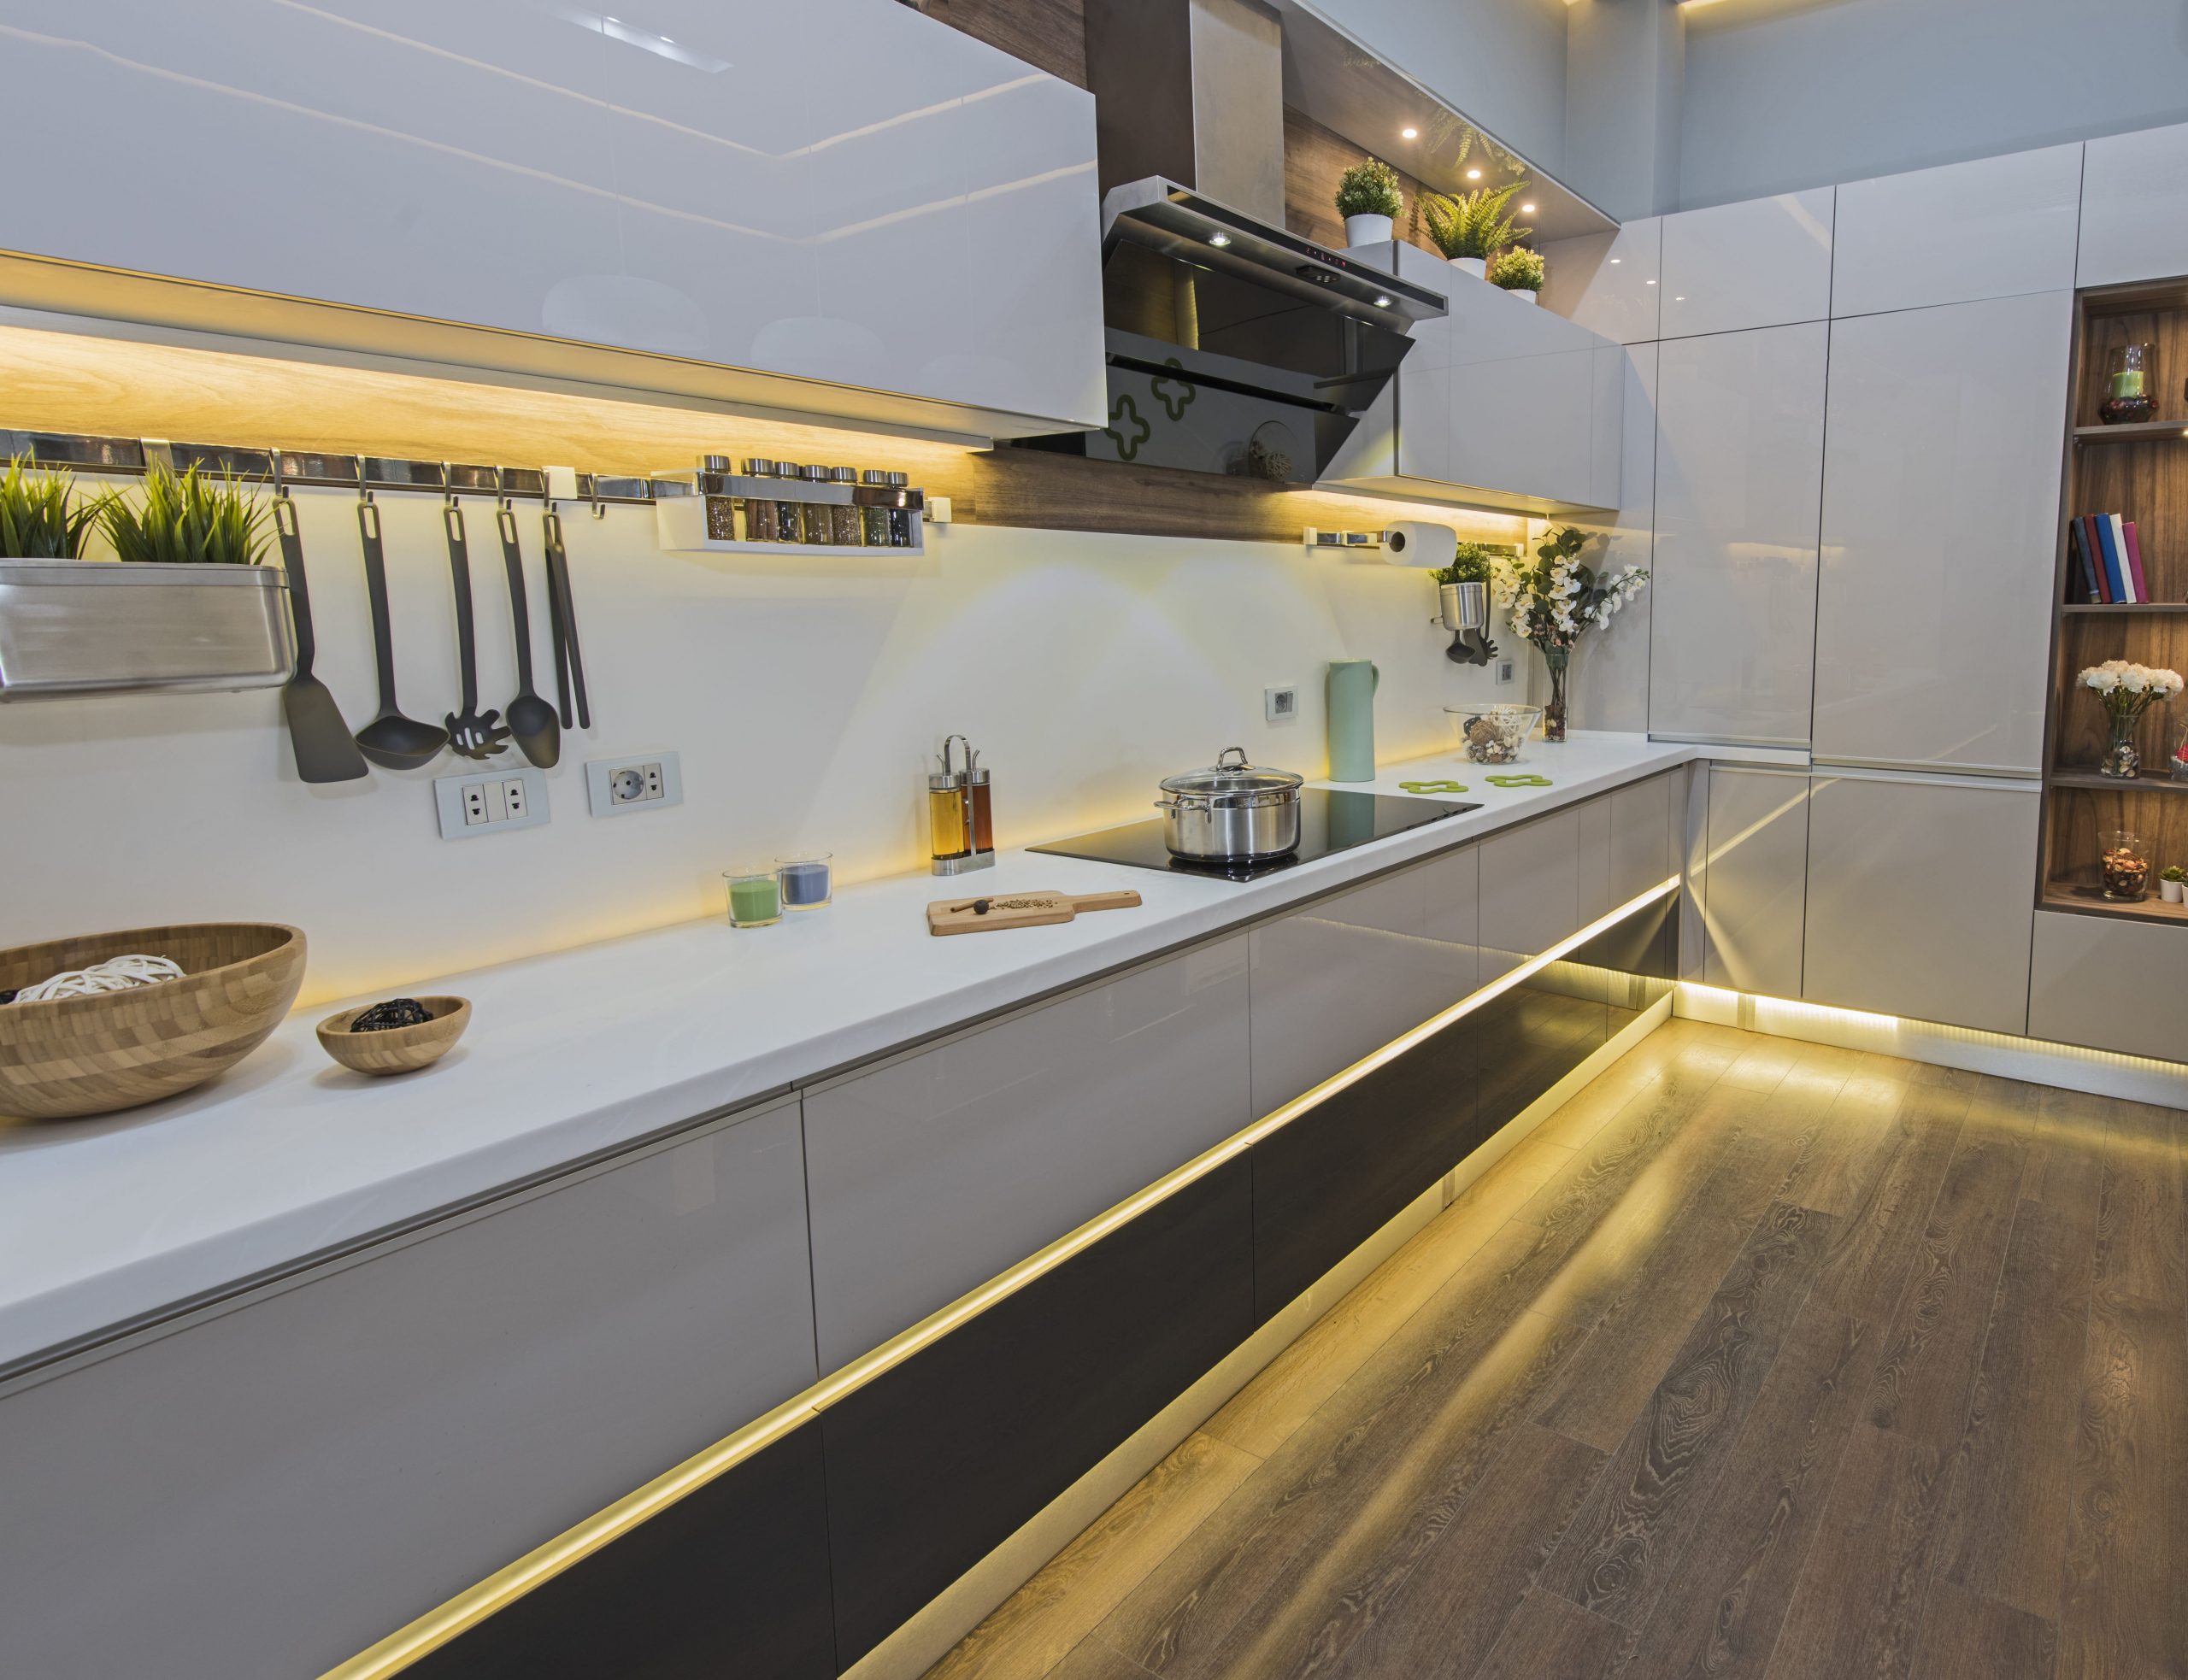
A kitchen splashback is the panel of material – usually on the wall above the sink, hob or cooking worktop – positioned to protect the wall from splashes of water, oil, grease, and other kitchen messes that occur while cooking and preparing food.
With kitchen design projects there is always room for error, and splashbacks are no exception. Of course, there are no hard and fast rules when it comes to designing and installing your splashback, but many people go wrong in ways that you should be wary of before making any big purchases. So in this post, we hope to prepare your kitchen refurb for success and prevent disappointment in the future by outlining some of these common kitchen splashback mistakes.
The great thing about splashbacks is that they offer an opportunity to introduce patterns that would not work elsewhere in your kitchen. You should keep an open mind when deciding which patterns work best for you. Maybe simplistic patterns with large tiles and uniform proportions would fit right in, or perhaps an ornate mosaic with small tiles is more to your taste. The key is to experiment with different ideas while trying not to clash with other patterns in your kitchen.
Be wary of adding a splashback with busy patterns to a kitchen already replete with intricate patterns. A dramatic granite countertop paired with a similar granite splashback will only make your kitchen look cluttered with texture and detail. Aesthetically speaking, it’s a bit tough on the senses for most people. Perhaps a more minimal splashback that consists of larger tiles or a single slab would better offset busy kitchen counters.
Likewise, an exact match between the splashback pattern and the flooring pattern can end up looking quite samey, although this depends on the design in question. If you like continuity then perhaps some matching patterns would work best for you; just be wary that flooring patterns are often too large when used as a splashback. But again, there is no right or wrong answer here: just float different ideas and try to picture them in the context of your kitchen as a whole.
Splashbacks with simple designs don’t take too long to install when doing it yourself, but you should avoid rushing the whole process and messing up the fitting. Many people end up with tiles that don’t fit between the counter and the cabinetry in the right way, leading to a splashback that looks awkward and cut off. This is especially true when it comes to more intricate designs that require high levels of accuracy.
When measuring up and fitting your splashback tiles, don’t forget to take into account the location of plug outlets and light switches. These have the potential to interrupt their patterning and ruin the overall design. Preferably, the edges of your outlets will fall in line with the grouting rather than cut across it. If they interrupt the pattern, some of the tiles will be segmented into strange shapes that compromise the uniformity and flow of your splashback.
Important: splashbacks made from one solid slab of your chosen material should be properly measured and installed by a professional. Not only is it difficult to get their measurements exactly right without experienced fitters, but they are also unsafe to handle on your own.
The splashback acts as a great canvas upon which to experiment with a range of different materials, from ceramic and stone to metal and glass. You should look to incorporate materials that add interest to your kitchen without stealing the show. Of course, it can be quite tricky to decide which materials will match the counters and cabinets without actually installing the splashback. Wooden counters are perhaps more forgiving when using ‘stand-out’ materials for your splashback (i.e. intricate mosaics of stone or travertine), while the smooth monochrome countertops of contemporary interiors would be nicely served by large slabs of steel or stone.
It’s important not to forget the ‘splash’ element in your splashback. In other words, you should be choosing materials on the basis of practicality as well as on the basis of appearance. Your new meticulously installed glass tile mosaic might look beautiful, but it might also pick up dirt and grime very easily (leading to an unspeakably arduous cleaning process).
Ask yourself: how does the material stand up against a spluttering blender, a spitting frying pan, or a steaming kettle? Request some samples from your suppliers, fix them to your current splashback for a week or two, and observe how each one deals with the everyday onslaught of kitchen mess. Only when a material is both decorative and practical should you consider installing it in your own kitchen.
Think about where you want your splashback to be located. For practical reasons, most people have splashbacks behind the sink and the cooker as these areas are more likely to produce high amounts of moisture. But most of the time splashbacks are not restricted to these areas. Do you want your splashback to extend the entire width of your counter, or do you just need to cover the most efficient areas in your kitchen? Make sure you answer these questions before making big decisions so that you’re not left with a splashback in the wrong location entirely.
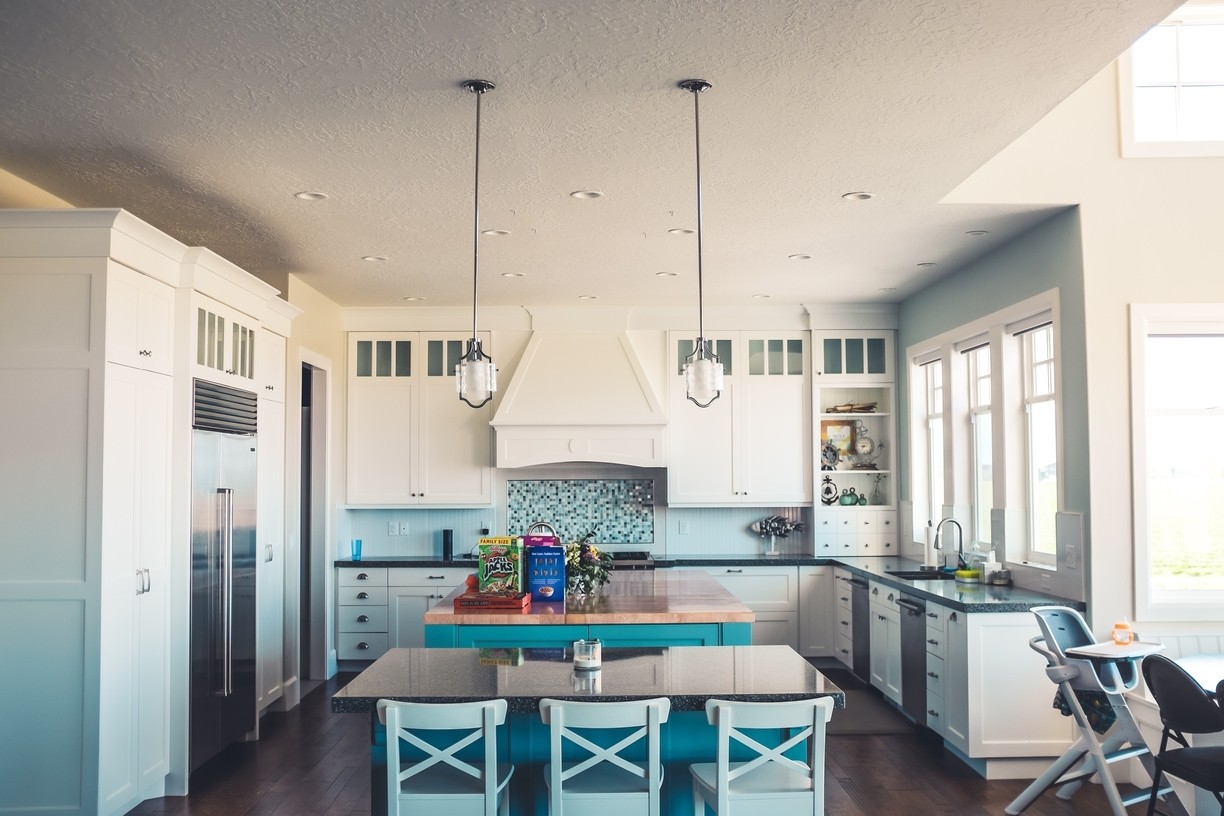
Your splashback offers a great means of defining your kitchen’s colour palette. The colours you choose could draw from this palette, linking the countertops to the cabinets by incorporating consistent colour in between. But they could also give your room a pop of colour, setting your splashback apart from the surrounding interior while also drawing out their subtle similarities. For instance, in a kitchen with neutral tones, the splashback presents an opportunity to introduce some loud primary colours without compromising the existing aesthetic.
Don’t forget to consider the effect of lighting on the colour of your splashback. Since it is tucked into the back of your counter area, it often ends up looking slightly darker than it does before installation. And if you have undercounter task lighting, the splashback will take on a completely different shade when the lights are switched on. Again, try testing a sample in your kitchen to visualise how light falls upon the splashback in practice. Also note the colour of any appliances and decorations on the countertop, as these could clash with the colour of your splashback too.
For a helping hand in designing your new kitchen and a friendly chat with a professional designer, contact the award-winning team at Burnhill Kitchens! We’ll be happy to offer you our expertise in all things kitchen design.

WE ARE OPEN
Stay safe. Sam and the Team
CONTACT US